What we install
- insulated wall panels;
- partition and ceiling panels;
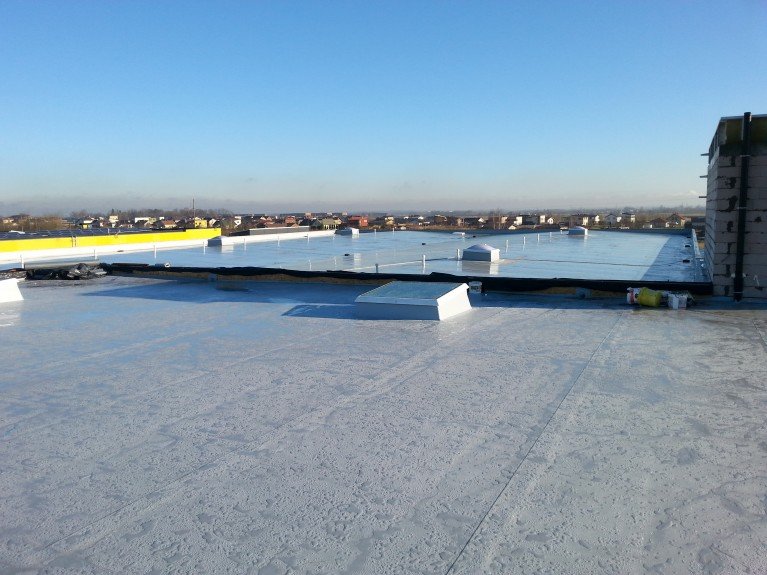
- insulated roof panels;
- flashings and trims.
Roof panels
Panels have side and end laps, so the installation sequence is what makes them weathertight:
- Start from the edge (lowest) corner panel with side and end laps facing the outside of the building.
- Lay further panels against the direction of fall so that each lap covers the panel below — up to the ridge or eaves.
- Start the second run from the eaves. Side laps cover the installed panels, are sealed and fixed.
Wall panels
Horizontal
Install from the bottom after checking that the frame, base flashing and brackets (centres up to 1.5 m) are in one plane. The top edge is fixed to the rail with one or two fasteners depending on panel size and wind load. The last top panel is fixed to the steel at no more than 500 mm centres.
Vertical
Check the bottom support rail is supported, fixed and level. The first panel goes groove-side to the corner, plumb. Joints are parallel and even over the full height; each rail gets the required number of fasteners.
Edge seals are factory-fitted. Where panels are cut at openings and corners, through-fixings are used and covered by flashings. Flashings and trims are fixed, aligned and sealed with straight, undamaged edges.